final-project-10-cup-pong-champion
final-project-skeleton
* Team Name: 10 Cup Pong Champion
* Team Members: Jacob Marsh
* Github Repository URL: https://github.com/ese3500/final-project-10-cup-pong-champion
* Github Pages Website URL: [for final submission]
* Description of hardware: MacBook Air, Raspberry Pi, ATMega based board
Final Project Report
Don’t forget to make the GitHub pages public website! If you’ve never made a Github pages website before, you can follow this webpage (though, substitute your final project repository for the Github username one in the quickstart guide): https://docs.github.com/en/pages/quickstart
1. Video
2. Images


3. Results
What were your results? Namely, what was the final solution/design to your problem?
3.1 Software Requirements Specification (SRS) Results
-Use timers to control DC motor speed (Success!) -Use timers to control Servo motor position (Success!) -Use C code to control angle / speed of launcher (Success!) -Communicate between Pi and Atemga with SPI (Fail) -Use OpenCV and Python on Raspberry Pi to determine distance and angle (Success!)
3.2 Hardware Requirements Specification (HRS) Results
-Launcher be able to launch over 8 feet (Success!) -Launcher over 80 percent of the time lands with an 8 inch diamter circle (Fail)
4. Conclusion
Pong is a very difficult game to play. Frat guys spend years constantly practicing to perfect their game. Even so, they still struggle to consistently score due to the high level of precision required. Being the electrical engineers we are, we wanted to find a quicker way to get better at pong, preferably with less beer. This led us to the creation of our 10 Cup Pong Launcher, a device that plays pong on its own.
There are many different aspects of the launcher that need to be created. We needed to create a physical tube that balls can be inserted into to be launched. Two DC motors that can be controlled through PWM to allow for speed control of the balls. Servo motors to control the theta and Phi values of the launch angle. A camera connected to a raspberry pi to determine the location of cups(using OpenCV). SPI communication to allow the raspberry pi to communicate with the ATMega. And finally a mount of some sort for both the launcher and the camera.
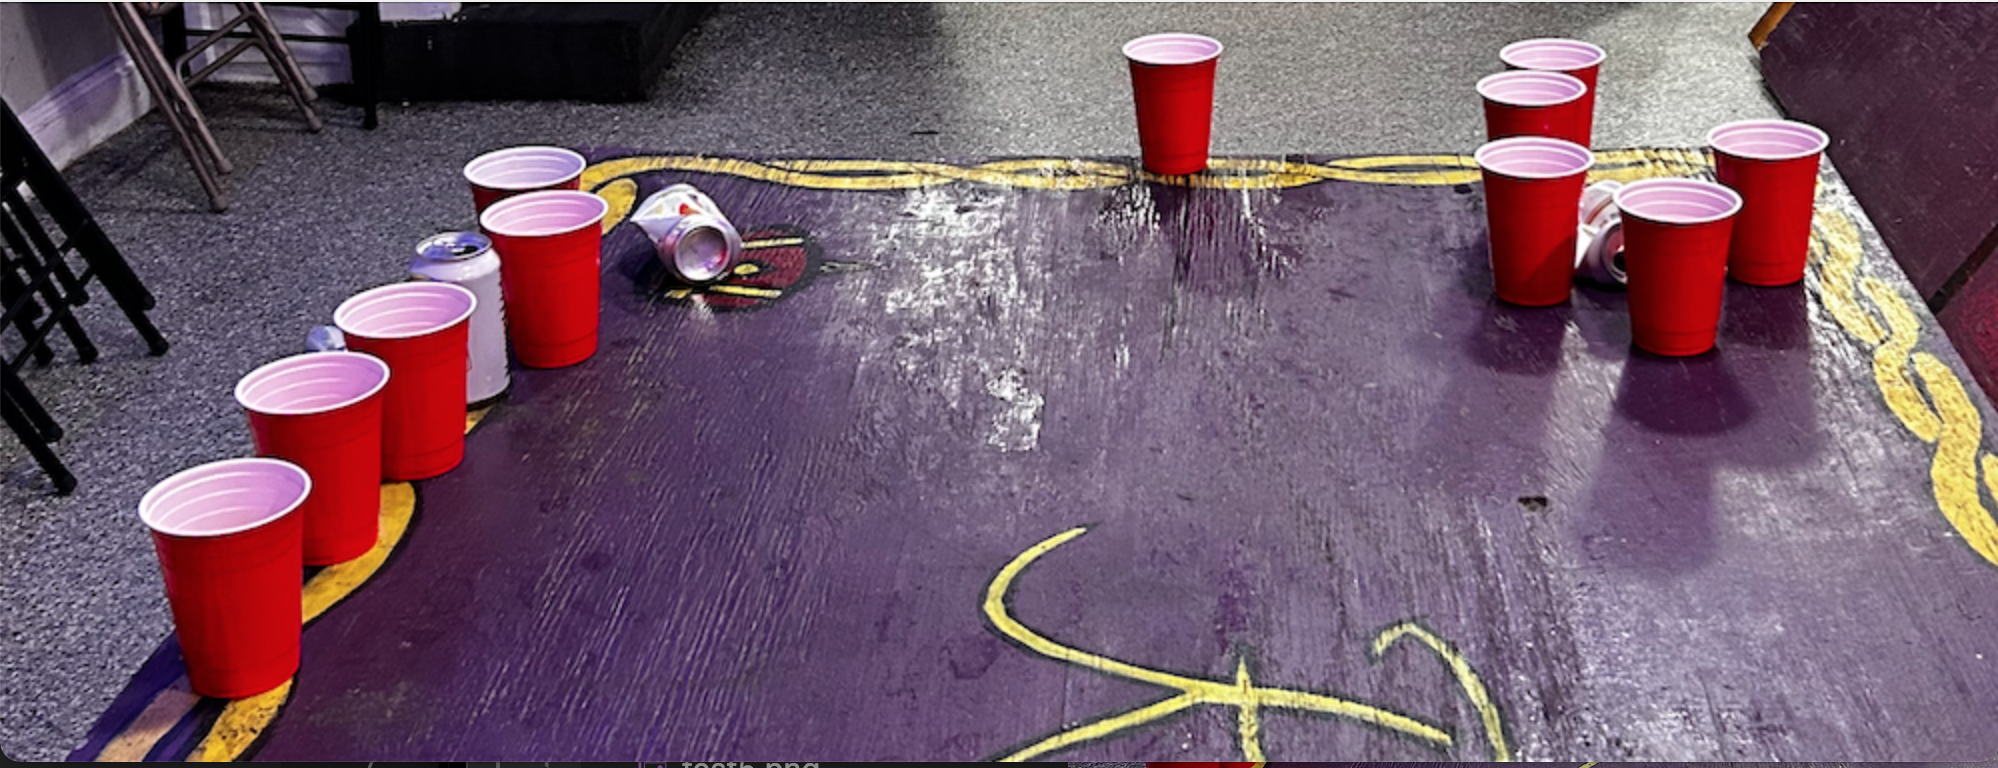
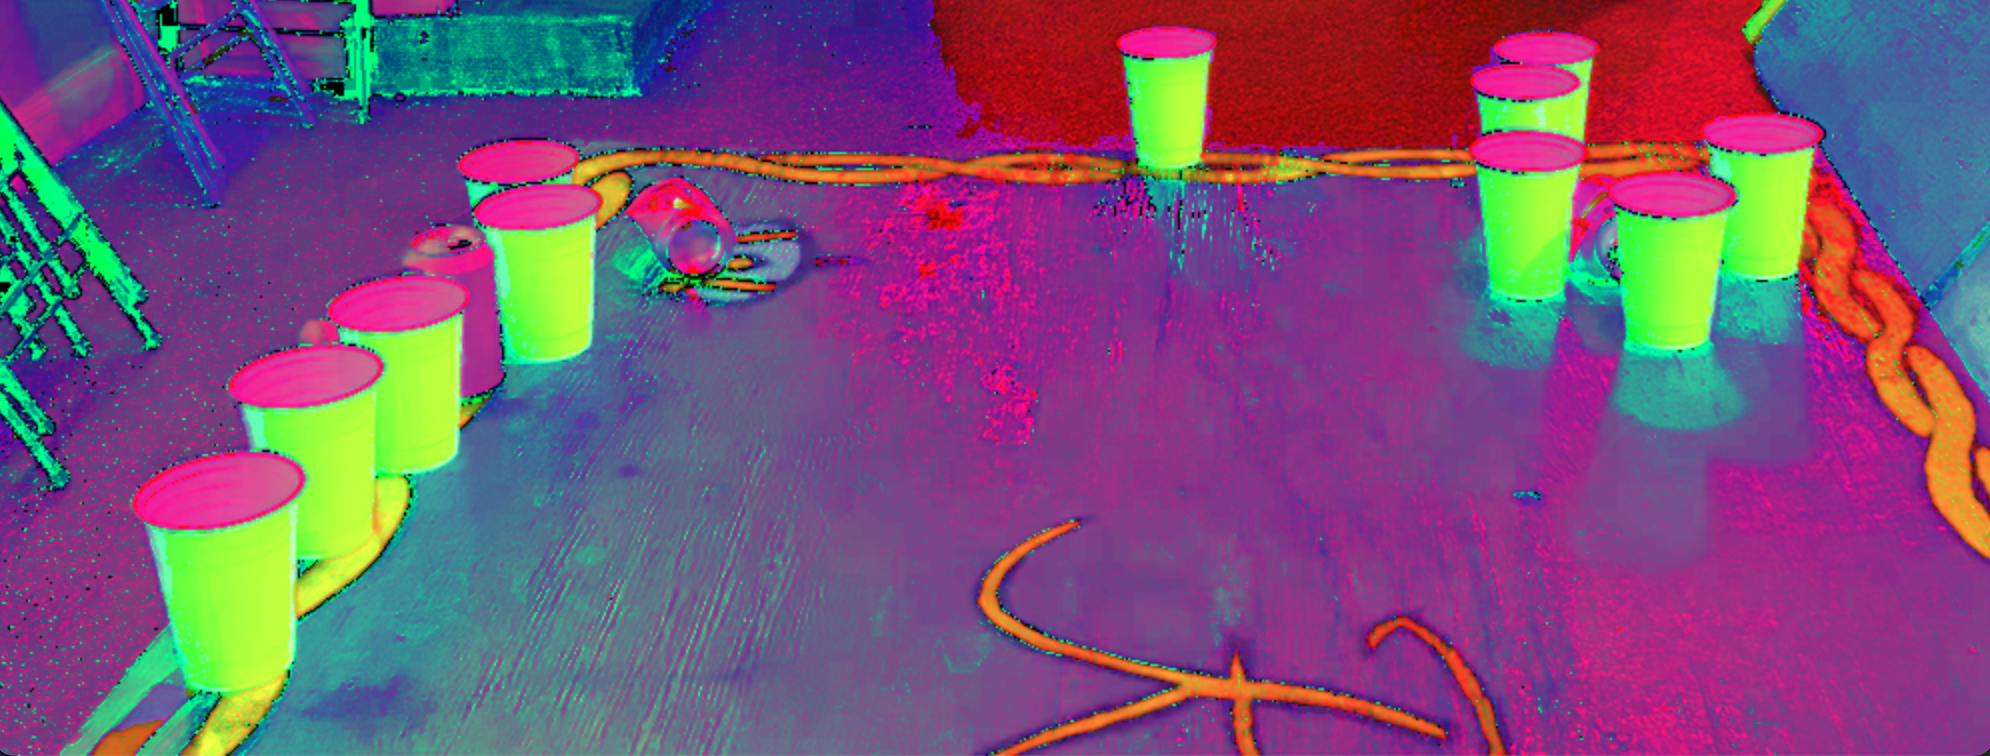
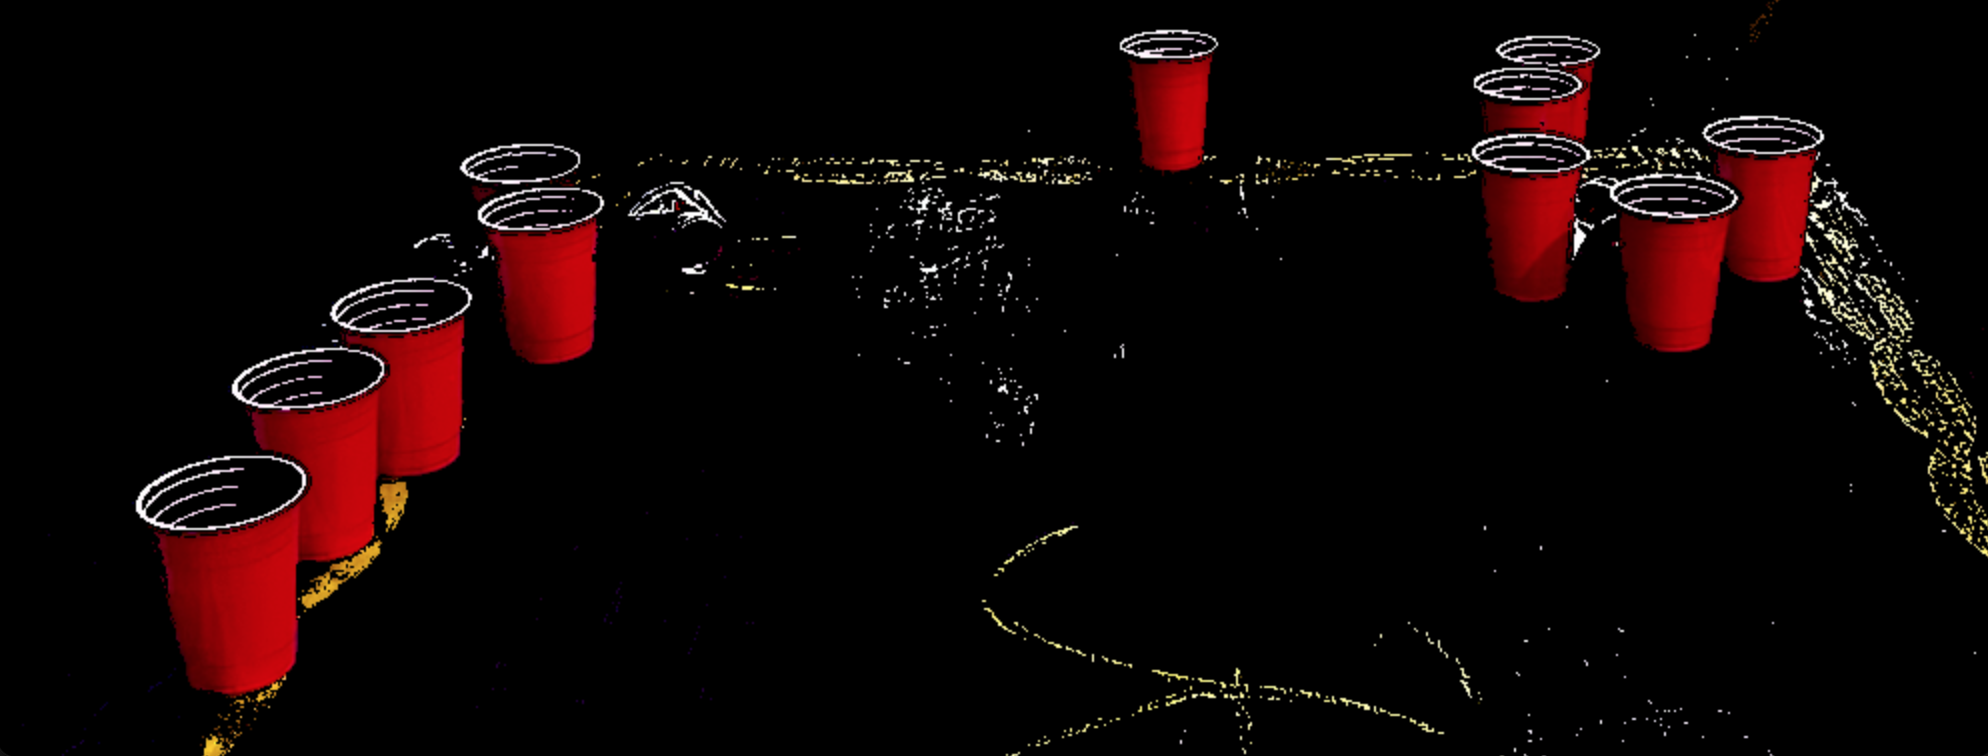
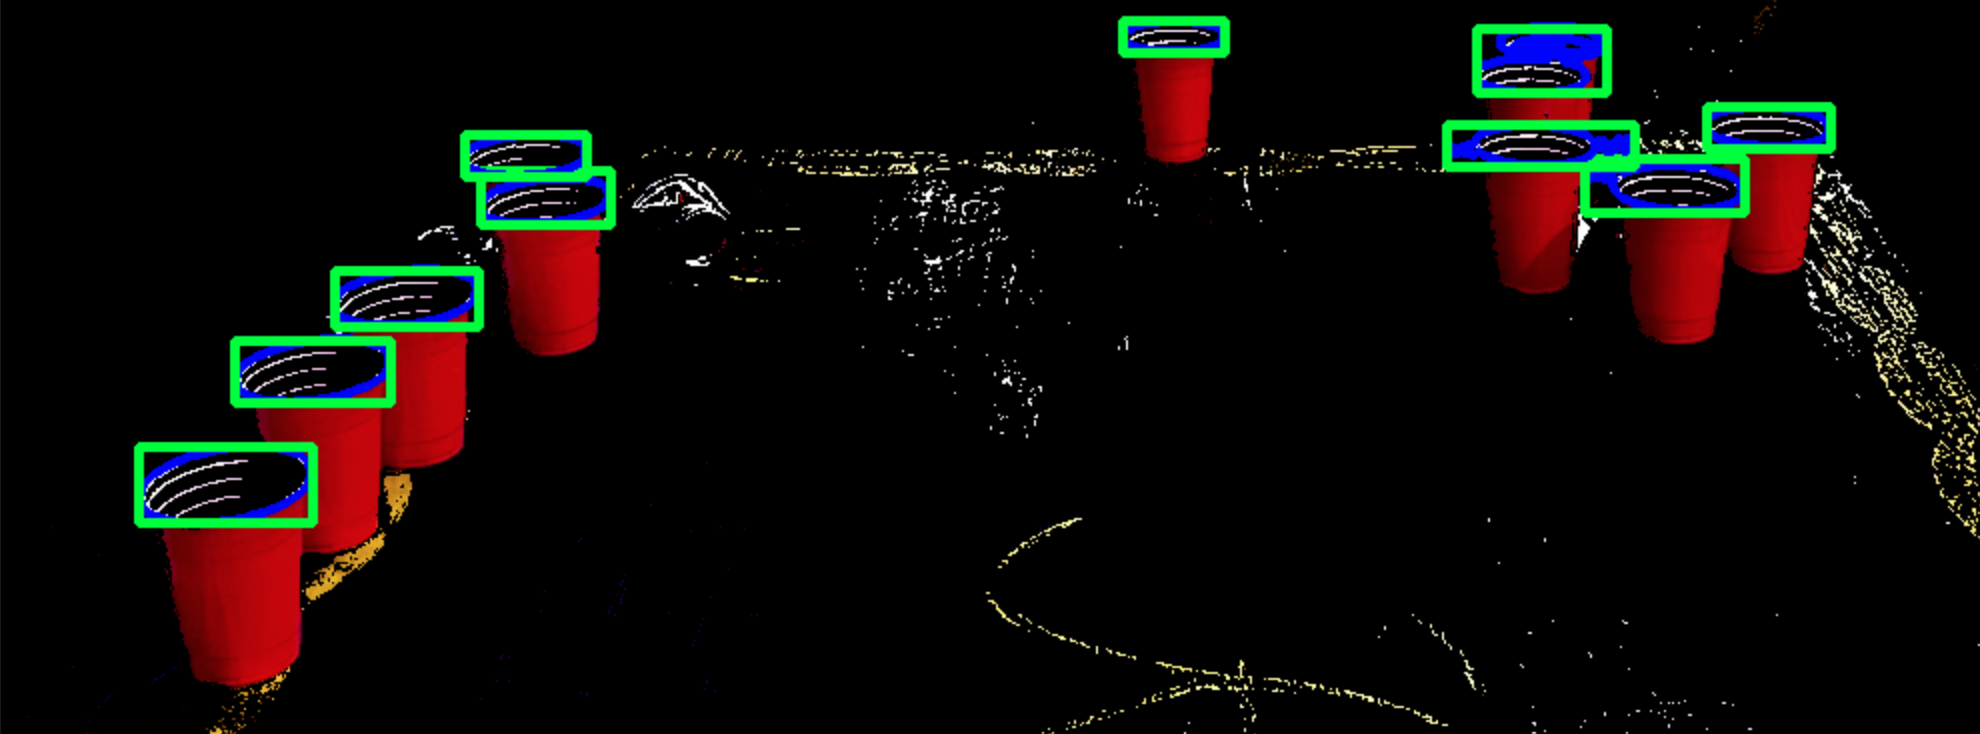
This project went well in many ways, but was not as successful as we hoped. Of the specifications outlined above, we accomplished all of them other than SPI and the accuracy of the launcher. Even so, we had many issues with our implementation and demonstration of our project. Coming into demo day, we spent most of our time working on our raspberry pi code and all of our mechanical requirements. These both proved to be way harder than expected, leaving us with less time to make sure our other aspects worked as expected. We were able to finish our python code, it identified all the cups 85 percent of the time. It struggled when there were a lot of cups bunched together and then one cup in front. However, most of the issues with the Python code would be the necessity to fine tune the mask. Mechanically, we struggled to mount the launcher onto the servo, so we decided to remove the second servo to control the z angle control. Our main issue was the inconsistency of the launching system. Even while running at a consistent speed and angle, the balls would launch to fairly different positions. All of these problems have led to subpar execution, even with most of our peripherals acting as expected. Furthermore, we had many other significant inconveniences, such as the raspberry pi crashing repeatedly and not turning on again and us needing to retrieve new ones.
We learned a lot about the difficulties with highly integrated projects. This project used both a unknwon controller (the Pi), an unknown library (OpenCV), and a difficult mechanical task ontop of the already difficult embedded systems. We spent a LOT of time on this project and the results were still subpar.
We did have successess however. We suceeded to use frequency timer adjustments to adjust the servo positioning. We succeeded to use PWM duty cycle to control the speed of two DC motors. We did build a decently functioning launcher mechanically, with a cool 3D print and some woodwork. We were able to use a Rasberry Pi to identify red solo cups.
We are proud of all of the accomplishments above. Particularly, the Rasberry Pi as the only experience any of us had with that coming in was Jacob who had not used one since 8th grade.
If we were to have changed our approach, we would have simplified the launcher design and given us something easier to work out of. Additionally, we migh have avoided the rasberry pi and used the image recoginition from a laptop and through UART.
The next step of the project would be to redesign the launcher mechanical design one more time, after all we have learned.
Final Project Proposal
1. Abstract
We will develop a launcher system to play 10 Cup Pong. The system will consist of DC motors which will launch the ping pong ball, servo motors which will adjust the angle of the launcher, a distance sensor / camera which will determine where the cups are, and a feedback system so the system can self adjust. We will also add an LCD screen which will talk trash to the opponents.
2. Motivation
We are trying to solve the problem of missing cups in a game of pong. As college students, we have had our fair share of missed shots during a pong game. We always wanted to be perfect pong players. This is interesting because most college students have played pong at least once. Furthermore, it is a very simple game to play but extremely difficult to become amazing at. We hope that our machine will be able to become the perfect pong player, one that never misses its shot, and has the mouth to go with it.
3. Goals
-Create a system with a distance sensor and camera that can accurately determine the location of the cups and whether the ball lands in the cup
-Create a launch system that can accurately launch the ball into a cup, the launcher will rotate on the phi and theta angles
-Create software that determines the proper angles and launch velocity of the ball to land in the cup
-Create a feedback system that determines adjustments in angles and velocity required to land the ball
-Create an LCD screen that will display with text any rules that require verbal acknowledgement(heating up, fire, island…) and also trash talk the opponent after misses by the other team.
4. Software Requirements Specification (SRS)
-Use timers to control DC motor speed -Use timers to control Servo motor position -Use C code to control angle / speed of launcher -Use C code to create a feedback system to adjust -Use OpenCV and Python on Raspberry Pi to determine distance, angle and whether or not a cup has pong
5. Hardware Requirements Specification (HRS)
Formulate key hardware requirements here. -Atmega2560 (for more timers) -IR distance sensors -Servo motors -DC motors -3D printed launcher frame -Camera -RaspberryPi (probably a 4 or 5) -Button
6. MVP Demo
We expect to have our distance measurement system. This means that we can locate the cups through the camera and accurately transfer this information to the launcher. We also hope to have our launcher working by then, and to have started working on the lcd screen. We expect there to be issues with the launcher being accurate at the stage, but we do expect it to launch balls with some accuracy(we hope to integrate a feedback system).
7. Final Demo
Along with all of our expectations for the MVP, we expect the launcher to be at least 60-80% accurate, and for the camera to detect if either side has scored a cup so it can keep track of the game. This will mean that our device should be able to play a full pong game, with the operator only having to load the machine with balls and press the button to shoot the ball.
8. Methodology
Since the solution to the problem is very directly correlated with if we can get the actual launcher to work, that is our main priority in solving this problem. Furthermore as it is something that is directed towards college students, it must be as cheap as possible. We also need to make the device seem cool, so that students retain interest in the idea. This is the general order of our priorities, so our solution timeline will be linked very closely to this order. We will focus on finding the cheapest parts that will allow for an accurate launcher, and try to make the 3d print look as cool as possible and add funny trash talk to make the project cooler.
9. Components
ATMega2560. Because we will be controlling multiple DC and servo motors and running a projectile algorithm and feedback algorithm so we want some more memory space. DC Motors. Because we need the flywheels to launch the ping pong balls. Servo motors. Because we need to control the theta and phi of the launcher. IR Distance Sensor. Because we need a distance sensor to evaluate where the cups are and as a validator for the camera system. Camera (possibly 2). Because we need to determine the position of the cups and whether or not a ping pong ball has successfully gotten into it. Raspberry Pi. Because we need a more powerful processor than an ATMega to run OpenCV with Python.
10. Evaluation
We want our system to determine the distance the cups are from the launcher, adjust the theta and phi angles of the launcher, launch a ping pong ball at the cups, have it land in the cups most of the time, and have the system determine what the outcome of the launch was (where the miss ended up or if it hit.)
11. Timeline
This section is to help guide your progress over the next few weeks. Feel free to adjust and edit the table below to something that would be useful to you. Really think about what you want to accomplish by the first milestone.
| Week | Task | Assigned To |
|---|---|---|
| Week 1: 3/24 - 3/31 | Jacob/Maor | Download the OpenCV platform, 3D print launcher, order parts, and get approval |
| Week 2: 4/1 - 4/7 | Jacob / Maor | Play with OpenCV platform on his Mac, and investigate how to use the Pi to run OpenCV and communicate with the ATMega chip / Use DC Motors and Servos to start controlling the launcher, fine if this is done with ATMega328PB |
| Week 3: 4/8 - 4/14 | Jacob / Maor | Begin integration of Cameras and OpenCV into Pi. Achieve ability for system to identify the circles of cups rims. / Achieve full control of the launcher and write projectile code based on a set distance. |
| Week 4: 4/15 - 4/21 | Jacob / Maor | System recognizes if the ball is in the cup or not, sends data via a communication bus to ATMega / Write the feedback algorithim and have the ATMega connect to the Pi |
| Week 5: 4/22 - 4/26 | Jacob/Maor | LCD Screen, game mechanics and anything else not yet completed. |
12. Proposal Presentation
Add your slides to the Final Project Proposal slide deck in the Google Drive.
Github Repo Submission Resources
You can remove this section if you don’t need these references.
- ESE5160 Example Repo Submission
- Markdown Guide: Basic Syntax
- Adobe free video to gif converter
- Curated list of example READMEs
- VS Code is heavily recommended to develop code and handle Git commits
- Code formatting and extension recommendation files come with this repository.
- Ctrl+Shift+V will render the README.md (maybe not the images though)
